A 400-lb move

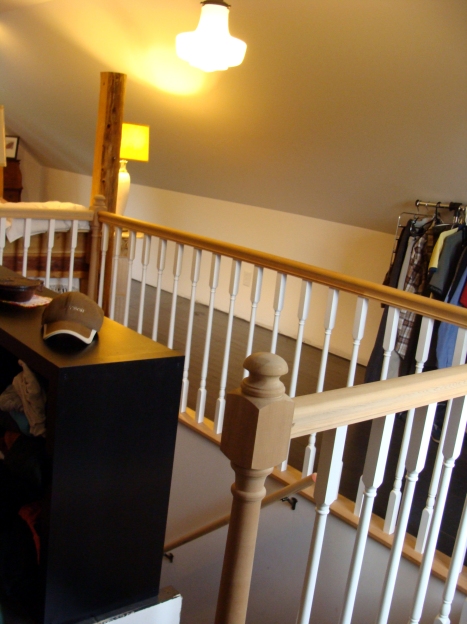
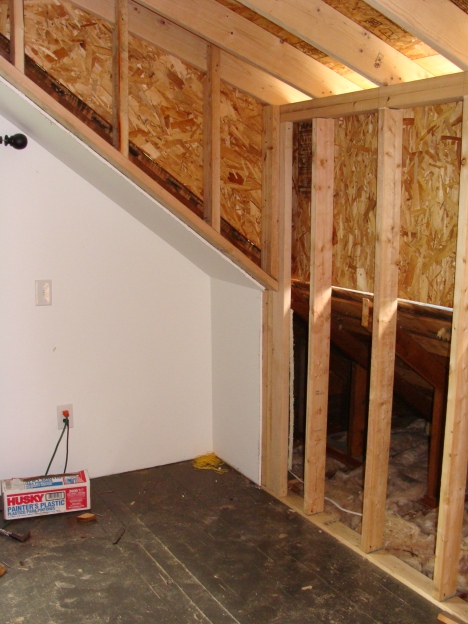
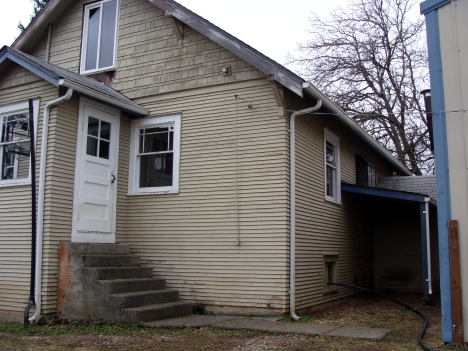
A 1938-built-house needs a 1930’s cast iron claw foot tub. The tiny, twisty stairs to the second floor wouldn’t allow us to haul it in the normal way, so scaffolding and pulleys and the ingenuity of a do-it-yourself handyman to the rescue! Here’s the stairway. Really, it was impossible to bring it in that way.DSC08809

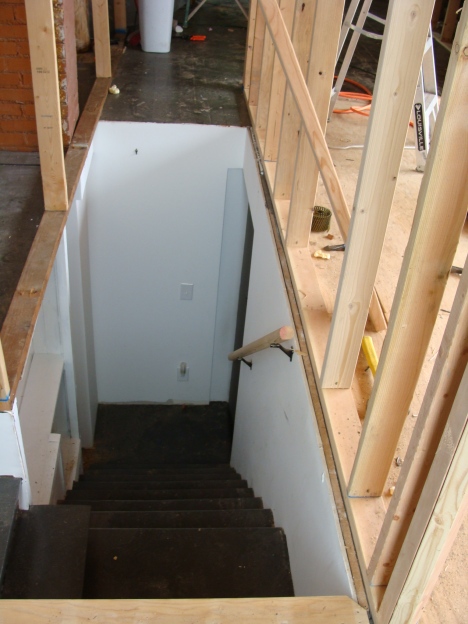
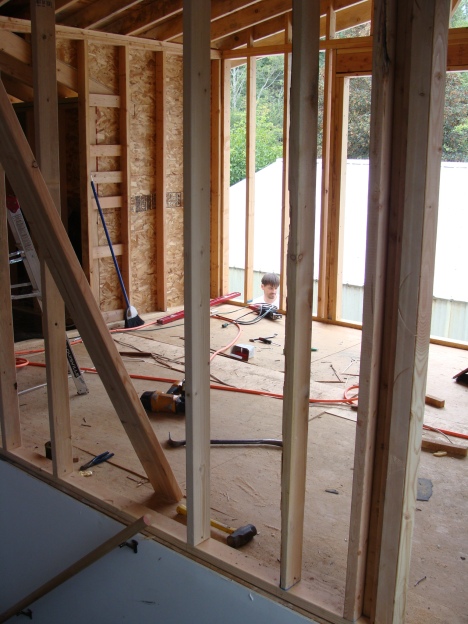
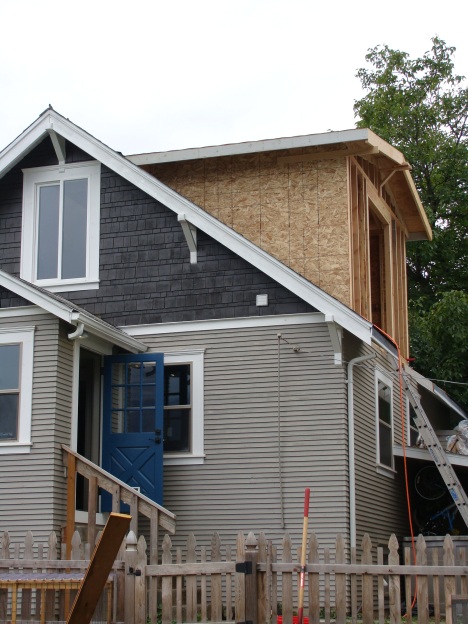
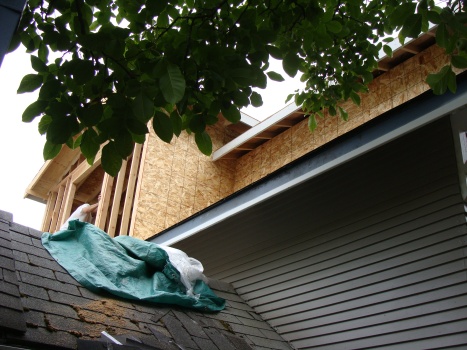
So, it had to go in through the window before the window was installed. I was out of town, so I didn’t witness the 400-lb raising. Stephen said the pulley system carried the weight well on the haul up. The difficulty was maneuvering it through the window hole and carrying the weight of one side to the floor. And right inside that window the tub sat all through the construction phase, gathering saw and drywall dust for a year. DSC09657

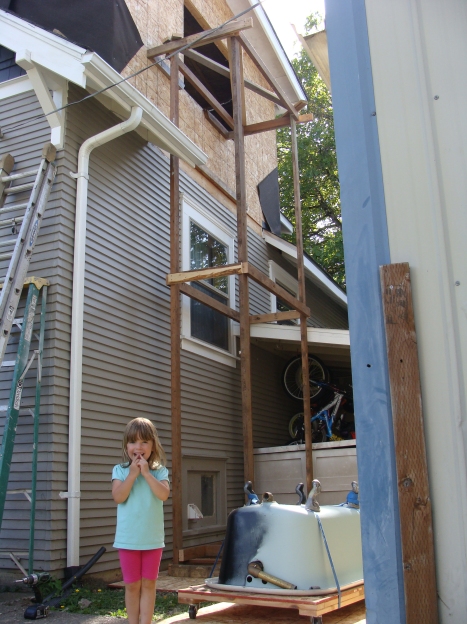
We found the tub on Craigslist. It was in good shape, not perfect. That’s okay. We don’t want a perfect house, but a charming one. It passes for charming, not dingy. I painted the outside black and touched up the claw feet once the room was ready for it to be installed. in its final resting place.

DSC00485

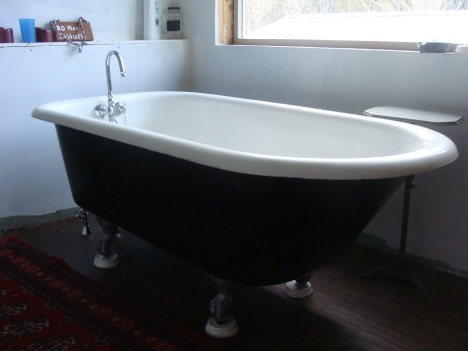
Hopefully, the next owners won’t want to remove it. I think the only way to get it out is the same way it came in.

Front Steps Progress

My pictures of the concrete pour have disappeared. But, I can show you the almost-finished front steps, if you like.

DSC00482

We used concrete block to form the steps, and then poured the treads with forms. Stephen stuccoed the side walls. We stained all the finished concrete a dark charcoal.Honestly, I’m not crazy about the color. We were limited by color options. And if we’re feeling picky, neither Stephen or I like that we can still see the mudding lines between the block on the sides.

Even with the nit picking, it is wonderful having a finished step to walk up and down on. Are you noticing that they might be slippery? We applied a finishing product that makes the concrete grippy. I have slipped on them when I wear flip flops, so I’m not sure how great of a product it is.

You are going to have to use your imagination to visualize the tile on the risers yet to come. This might help. We are using a sister version of the mosaic as we used in the entry floor just inside the front door.

DSC06384.jpg

I think it will give me the cheery, colorful look I wanted without being too Spanish.

DSC00483withtile


Master Bath Addition

We are adding a bathroom to the second floor.

This is the space before. A wall is going where the long side of the rail is to form a bathroom. The bathroom will be where the clothes are in this shot. The entire sloped ceiling will be raised so that  all of the square footage can be utilized.DSC07031

While I was volunteering as a camp counselor during the summer one week, Stephen raised the roof and dried in the space for our bathroom. Here we are under construction. You can see the hand rail in both of the pictures to get idea of the space we are gaining by raising the roof. The future bathroom picture window will face the garage roof. So pretty, I know.

DSC08808.JPG

This is the main bathroom addition. We will be pulling a 1920’s cast iron clawfoot tub through that window in the future.

DSC08818

We also raised one side of the roof to gain more usable space in the bedroom. By changing the angle of the roof, we gain so much space inside!

DSC08812.JPG

This is the addition from the front of the house.DSC08821

From the back, with the bathroom addition.DSC09691

What a change, eh? From this…

DSC05551.jpg