Dining Chairs Mish-mash

Chair style 1

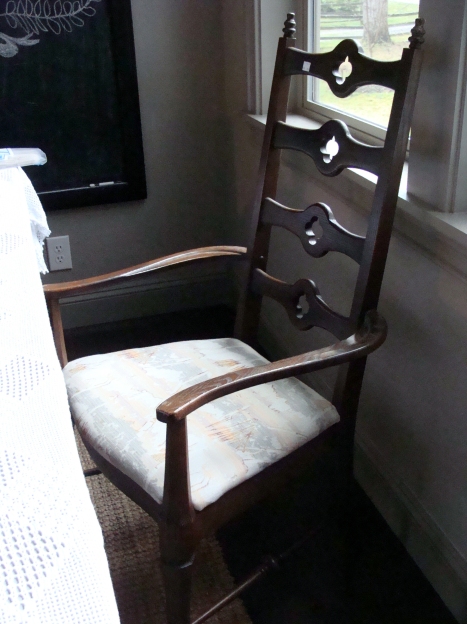
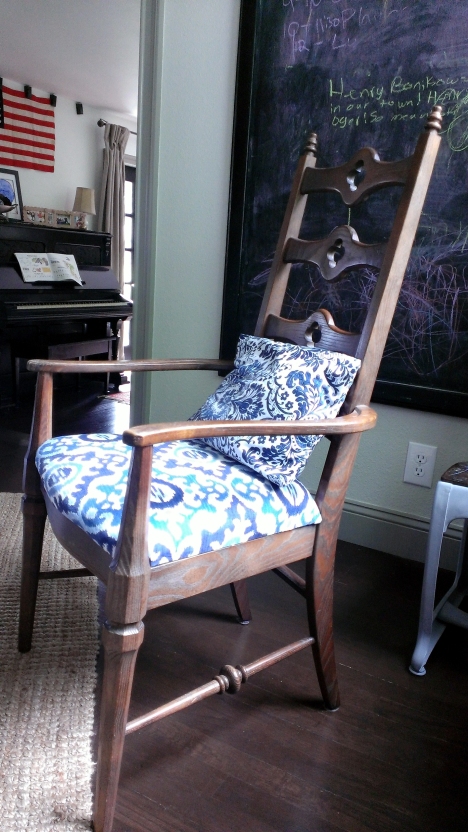
I prefer my  things don’t match. I like them to complement, but not be identical. So goes my dining chairs. I found two chairs for $15 each at a second-hand store. They had more, but again, no matchy-matchy for me!

DSC07189

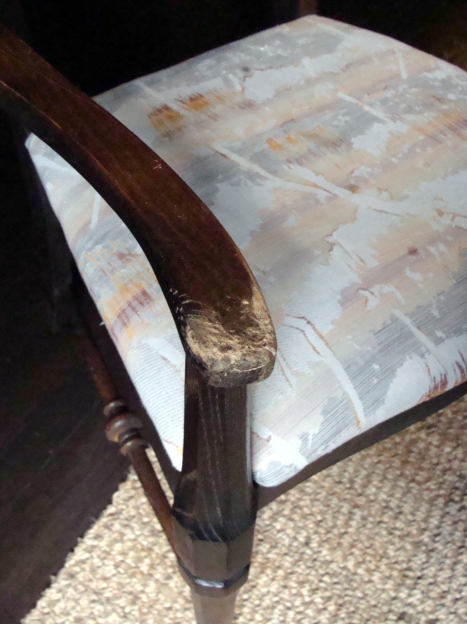
The arms were scratched or chewed up by a critter, so I sanded and re-stained them.

DSC07190I thought the details, the knobs and crosses on the back, went great with my table. New cushions and fabric make them perfect.

WP_20130705_003

Chair Style 2

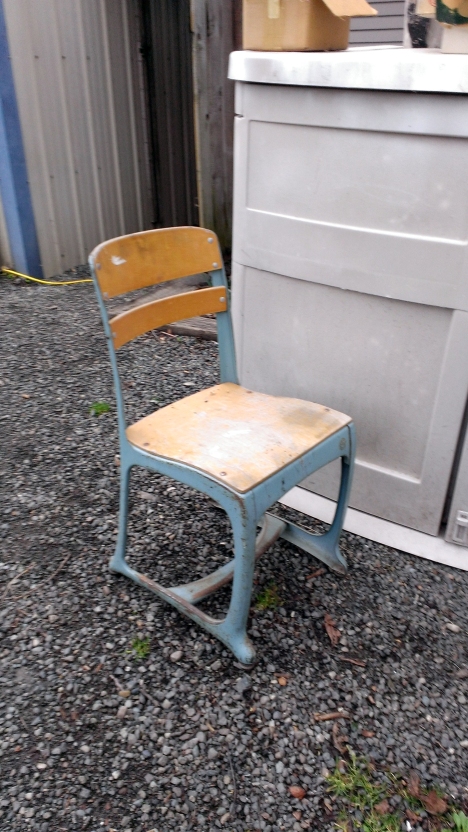
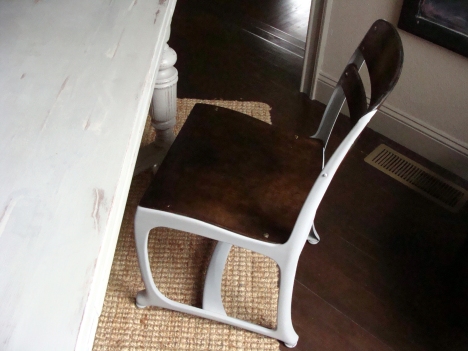
This little guy I found at an estate sale up the road. It was $1.

WP_20130301_001
Sanded it. Taped the wood off. Painted the metal a flat grey. (Yes, Eleanor, grey again!) Stained the wood walnut. Wa-laa!
DSC07326

Chair Style 3

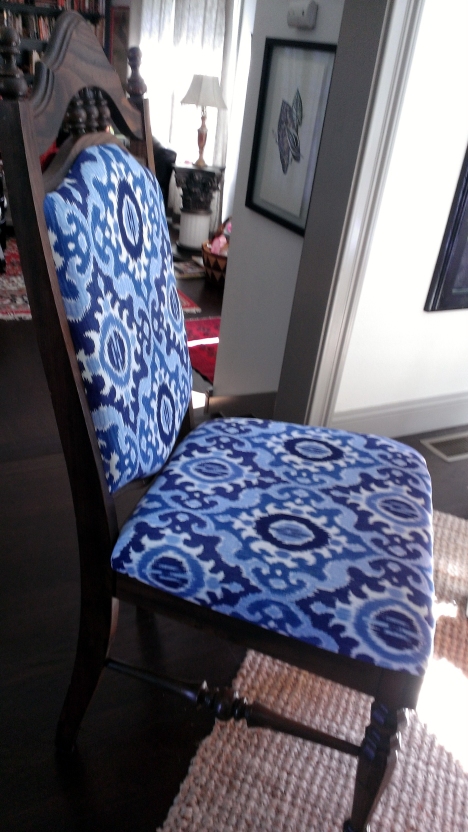
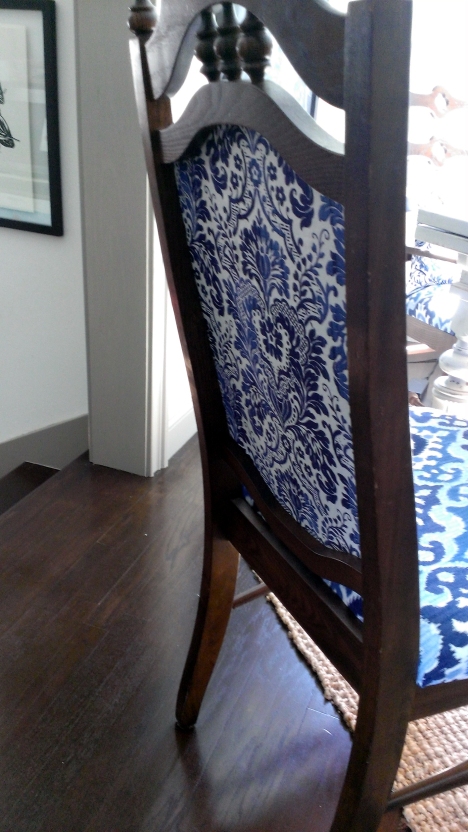
These chairs, I picked up for $3 apiece. Man, they were musty. I don’t have a before picture, but the original fabric was a heavy mustard upholstery. I was thrilled that the wood matched my other chairs, and even the details were mimicked. Not exact, but similar.

chairI used the same fabric, and encored the pillow fabric on the back.WP_20130628_006

Now to find a two-person settee, and my set will be complete.

Dining Table Makeover Adventures

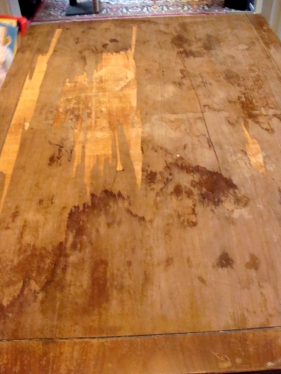
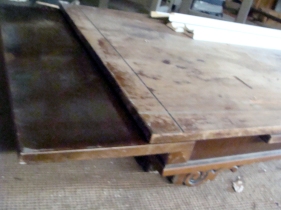
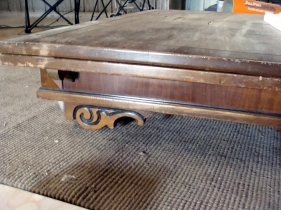
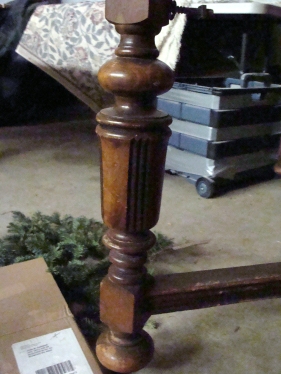
Last January, I found a vintage table listed on Craig’s List for $200. It was just what I’d been looking for: ornate legs, hide-a-table extenders that slide in and out, and casters. The listing said it was in fair condition. One leg was missing a chunk and the veneer on the top was peeling and in terrible shape. But, it was sturdy.
DSC07149
DSC07148I went to see it. Loved it. Made a deal to purchase it for $150, and then worried about spending too much for a peeling piece of junk. You know how that goes.
DSC07145

DSC07168

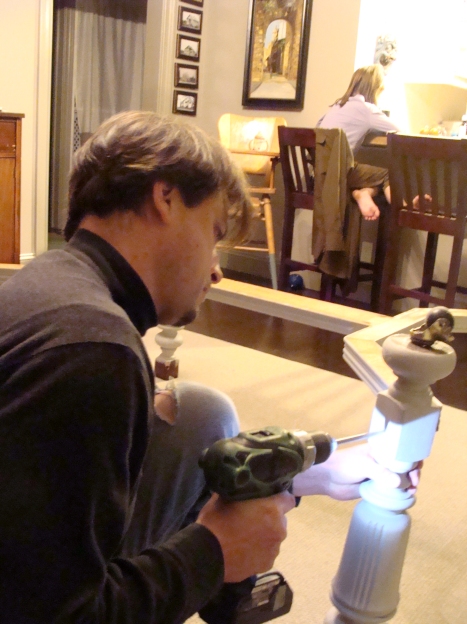
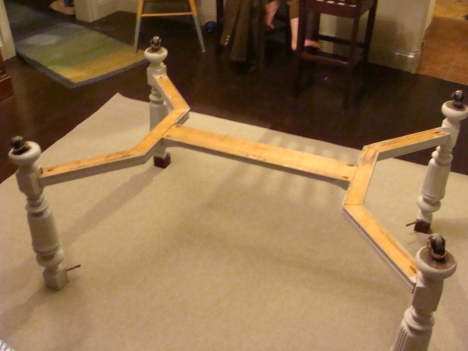
After experimenting with a few chairs, we decided the casters made the table too high. We removed them. Stephen squared up the legs, tightened screws and added a few more to make the leg support arch more stable.
DSC07165

DSC07167

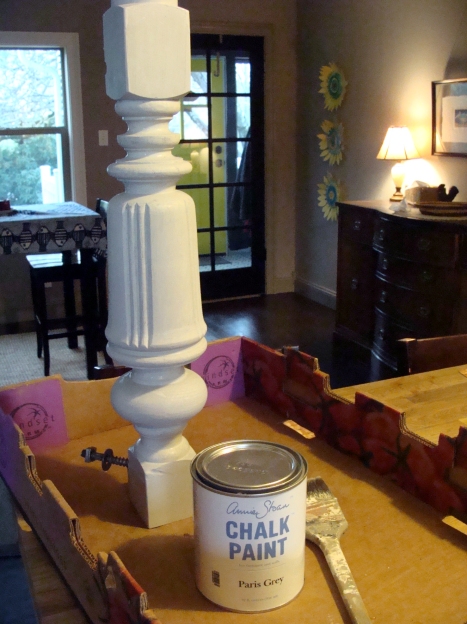
I painted the legs Annie Sloan’s Paris Grey.

“Grey. Again?” My daughter asked.

“Yes, Eleanor. I want to marry the color grey.” DSC07151
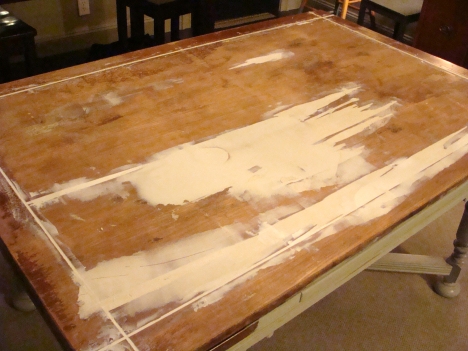
After researching for hours on how to apply veneer, where to buy veneer, and how much it would cost; I decided NOT to re-du the veneer. I found one lonely forum entry by a professional furniture restorer explaining how he uses hardener epoxy to re-build damaged molding on antique pieces. It seemed easy enough. And it finishes smooth and very hard. I used 3Ms all-purpose filler. I peeled away all the loose veneer I could, sanded and then applied the epoxy- like drywall compound  -on the missing parts. Sand it smooth and repeat. Level and smooth. I’m not a perfectionist. I figured my kids would be slowly destroying the table for the next 10 years, so I wasn’t going to make myself crazy getting it perfect.
DSC07174

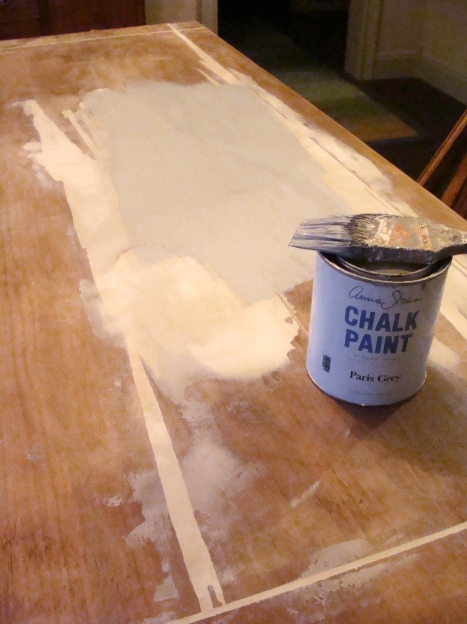
More Chalk Paint. More sanding. More compound epoxy. More sanding. More paint.
DSC07176

When I painted, the veneer sucked in the moisture, and started to pop up in places. I used a sharp syringe and watered-down wood glue to stab adhesive into the air bubbles. Then, I pressed it down with books and bench press weights overnight.  That works, but it is a tedious process.
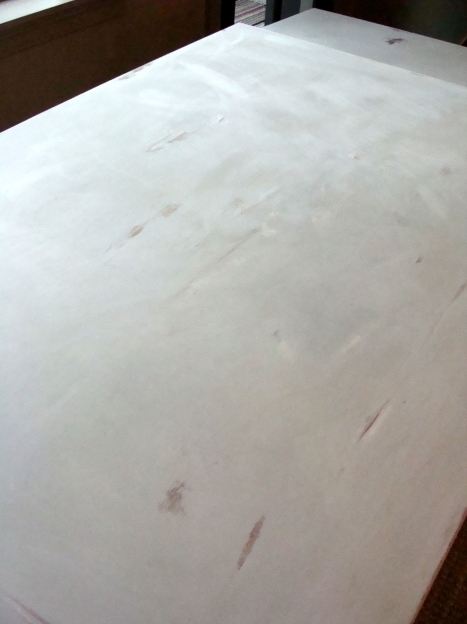
DSC07187More sanding to shabby it up. Then paste wax and a good polish.
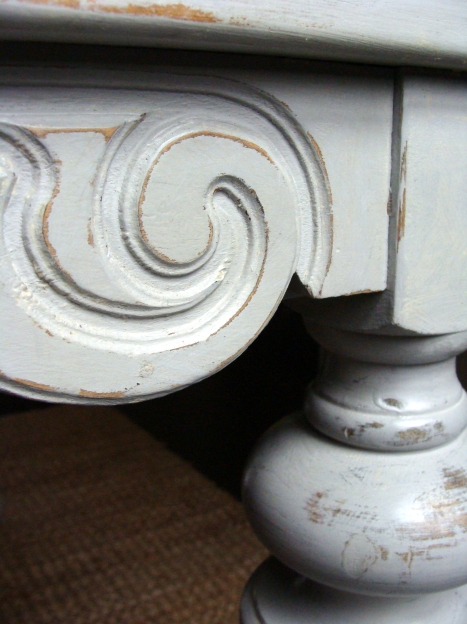
DSC07182

I can’t say enough good things about Annie Sloan’s Chalk Paint. It is a dream to work with. After applying wax, it hardens and shines beautifully.
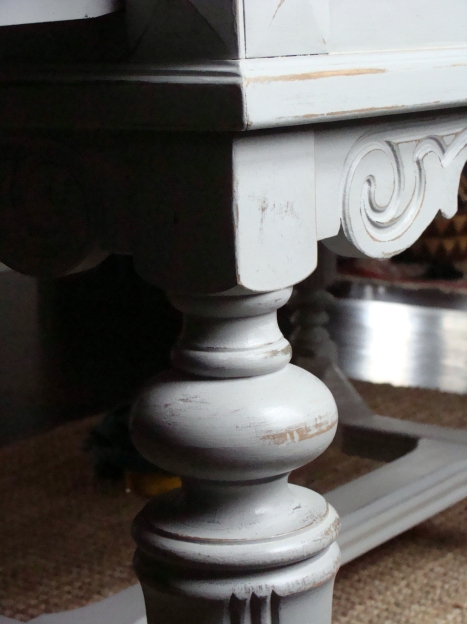
DSC07181

After using the table for a few months, the veneer will still pop up in tiny places when I wipe it down or a it gets wet. Once it dries, it lays flat again. Having a painted table top was not my first choice, but I don’t hate it.
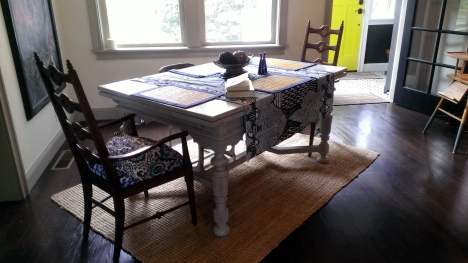
WP_20130523_005

I love the way it looks, but its not the most comfortable to sit at. The scrollwork rubs our legs when we sit two to a side, and it stops the chair arms from tucking under. I’ll detail the chairs I re-did in a following post.

I still debate whether $150 (plus $100 for paint and epoxy) was a good deal for it. Hmmm. What do you think?

Brass Hinge

I love our step-up door to the attic-master bedroom. So many things in this old house are charming. The brass hinge that had been painted over is one. I posted earlier this year about cleaning this old hinge. You can read that post, here.

Here is what the hinge looked like when we bought the place. I didn’t even know it was something special until a friend pointed it out. And even then, didn’t discover it was brass until I started stripping the paint off.

atticstepshardware

And, in all its glory!

DSC07134

We installed the trim last weekend. I will be caulking and painted it over the next few days. So, this space isn’t quite done.

DSC07130

Sealing the Basement

The basement was leaky, to put it mildly. It sounded like a waterfall down there when it rained hard. It required two sump pumps in the rainy season. We hope to solve that issue with a new product called SaniTred. This is the floor when we started last weekend. It had multiple cracks, and a few coats of paint and sealer patching it.

After grinding the paint away, it looked like this:

Now to water seal it.
STEP ONE: Dry out the cracks. We used a butane torch to apply high heat. It didn’t need to be totally dry…good thing. Those cracks don’t ever dry out!


STEP TWO: Coat the entire floor sans cracks with smooth sealant.

He started by rolling it…

…but discovered a squeegee worked best.

This stuff goes right up to the edge of the cracks, but not inside.

STEP THREE: Fill in the cracks with rubber “toothpaste.” This stuff expands and hardens to stop the water movement.

I only have finished photos of this step because Stephen had to apply it from midnight to 3 am due to the timing of the dry-time of the other product. Its a very precise process.

STEP FOUR: Apply the first sealer again; this time over the entire surface.

Now, we wait and see if it worked!

Entry Coat and Shoe Shelf

For the last 2 weeks, the entry floor has been a jumbled mess of boxes, coats, umbrellas, shoes and dirt. Here’s my fix.
Before, was this old oak bookshelf Stephen brought home from a job 6 years ago. I’ve always loved the ruffle detail at the top and the casters at the bottom.

I painted it the same color as the wall, because I love how it makes the tile pop.


I need to come up with something cool to put on the top shelf.

Basement Floor

The floor grinding did not kick up as much dust. And, since the machine was heavier and gravity was at work, it was an easier job. (Look mom, he’s wearing his mask! Goggles too!)

It still took him all day to grind the floor.

Cement sans paint:

Cleanup begins!

Grinding Cement

Before we can spread the rubber-like SaniTred to waterproof the basement, we (I say we like I did something) had to strip all the paint off. Enter the cement grinders.

He started with the side grinder on the bottom foot of the wall. Can you spot him?


Fans circulated the dust out. Well, they sorta worked.


He was in that dust storm for 24 hours (not consecutive) total!

You can see the border at the bottom of the wall that he cleaned. Next up, all that red and black paint/unknown substance off the floor!


Garden bench

Another one of my projects. Going in the mudroom. Just an old rusty outdoor bench a friend gave us painted green.

I need fireplace advice

What would you do with these slat- covered deep, dark holes in the fireplace stone? I can tell you want the spiders do with them…ick!


I am thinking of staining the stone with cement stain a graphite gray. And I definitely want a mantle. We are removing the insert. But, that’s all I got.
Help?

A footstool redu

Found this little thing for five dollars.

I made a ruffled slipcover for it. It has to be washable in this household!