Posted on March 7, 2016 by kbonikowsky
My pictures of the concrete pour have disappeared. But, I can show you the almost-finished front steps, if you like.
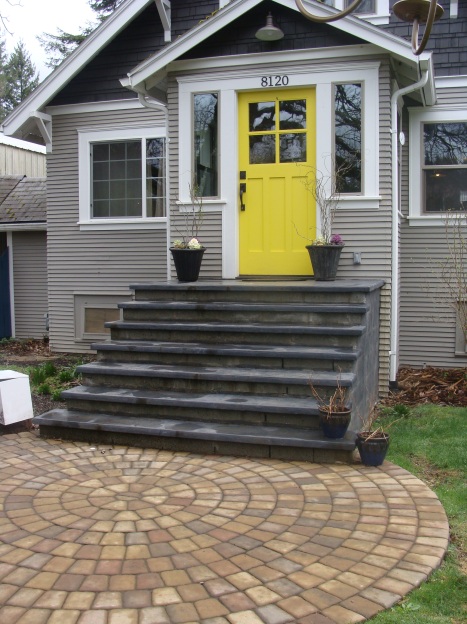
We used concrete block to form the steps, and then poured the treads with forms. Stephen stuccoed the side walls. We stained all the finished concrete a dark charcoal.Honestly, I’m not crazy about the color. We were limited by color options. And if we’re feeling picky, neither Stephen or I like that we can still see the mudding lines between the block on the sides.
Even with the nit picking, it is wonderful having a finished step to walk up and down on. Are you noticing that they might be slippery? We applied a finishing product that makes the concrete grippy. I have slipped on them when I wear flip flops, so I’m not sure how great of a product it is.
You are going to have to use your imagination to visualize the tile on the risers yet to come. This might help. We are using a sister version of the mosaic as we used in the entry floor just inside the front door.
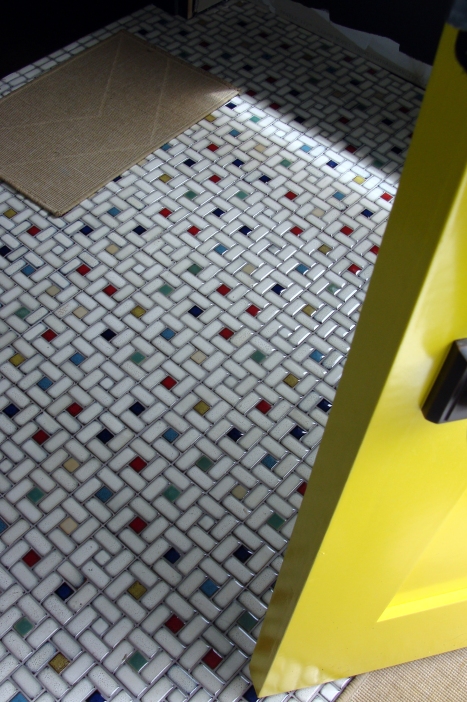
I think it will give me the cheery, colorful look I wanted without being too Spanish.

Filed under: Exterior House, Remodel | 1 Comment »
Posted on July 15, 2013 by kbonikowsky
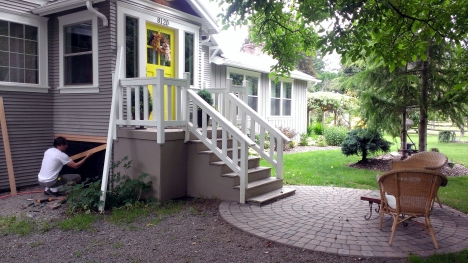
We needed a front patio to control the mud coming in the front door.
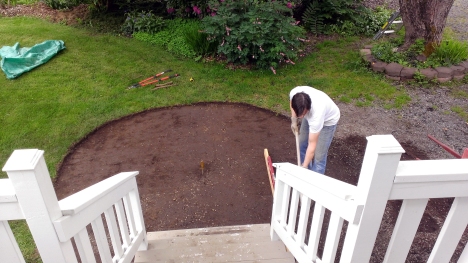
I am so thankful for a meticulous husband. He has this patio perfectly level, with a slight slope. 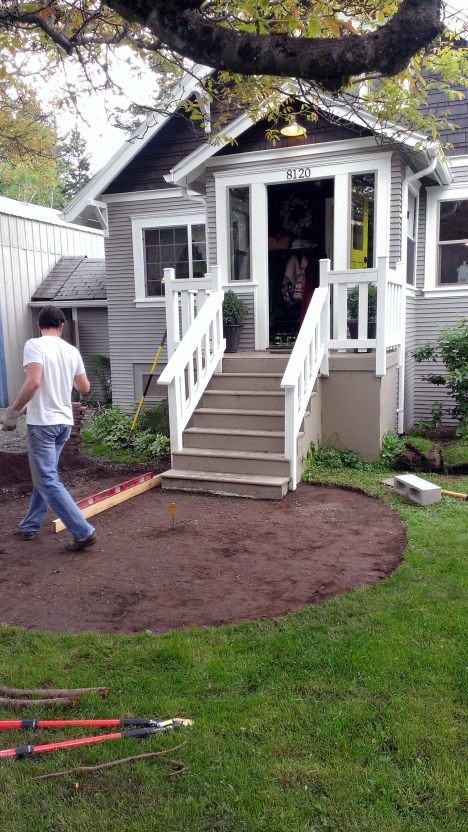
Instead of laying sand and chipped gravel, we tried the soft underlayment mats. They are square, and piece together to form any shape you need. Easy to cut, easy to install.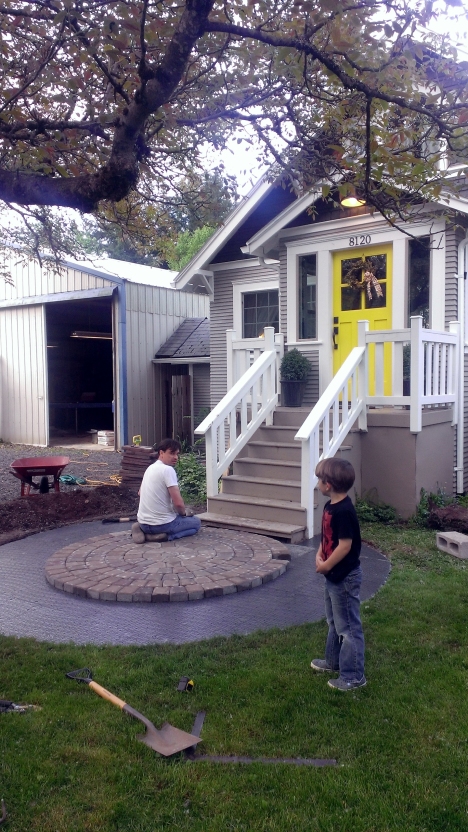
We had to use 2 circle kits from VillaStone made by Abbotsford Concrete Products.
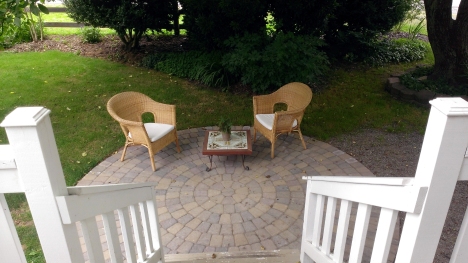
Eventually (My! I use that word a lot…we have lots of plans, but limited time.), we will extend the cobbles to landscape the driveway and side of the house.

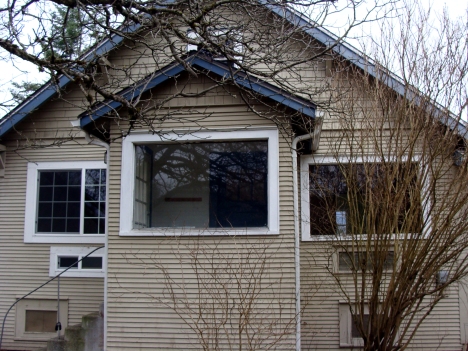
It is gratifying to take a look back at how we started. Here it is in April, 2012.
In August or September, 2012.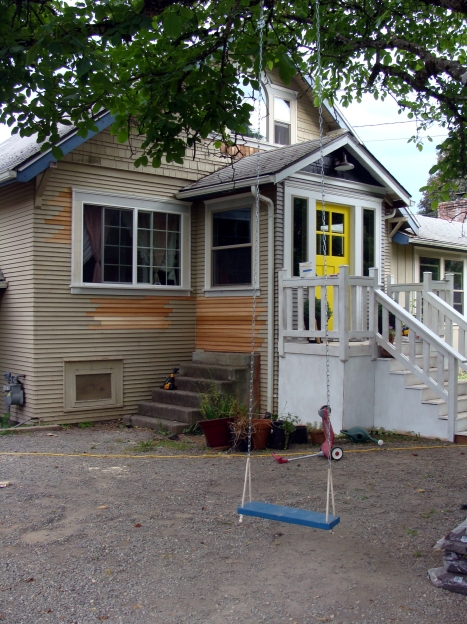
And now. We also jack-hammered out the old concrete steps that led to the original front door on the side. (Under that window) Stephen was installing the siding to finish it off. Now, I get to decide what plants to put there!
Filed under: Exterior House, Remodel | 1 Comment »
Posted on January 16, 2013 by kbonikowsky
This is a catch-up post. This part of the barnyard was completed last fall. It pens the chickens to a sideyard beside the barn, so we don’t have to deal with them on our back steps. They had to get their wings clipped anyway. Fence is a little short. 🙂
 Here is a shot of the house from the barnyard when we moved in back in May.
 Here is the same shot with the chicken fence.

And this rosebush was in the perfect spot already to grow up and over tthe fence to add its charm to the old barn.

Filed under: Exterior House, Remodel | Leave a comment »
Posted on November 3, 2012 by kbonikowsky
We had maybe 5 days of no rain in the last 4 weeks? So, we’ve only painted the front of the house. Looks good!


Filed under: Exterior House, Remodel | 2 Comments »
Posted on November 2, 2012 by kbonikowsky
Posted on September 14, 2012 by kbonikowsky
The house is now snug in its patched skin of siding.

This is a chronology of the old “front” door that was really on the side of the front porch. We removed the door and installed a window.

Its ready for color!
Filed under: Exterior House, Remodel | Leave a comment »
Posted on September 8, 2012 by kbonikowsky
Our goal is to finish the exterior of the house before the weather turns. After the window trim, there was siding to patch. We we were lucky to find the exact lap siding at a local cedar lumber yard, so we didn’t have to cut and paste from the old leftovers. Here is a before picture of one of the holes in the siding created from the old heating vents. You can see the old windows and trim as well… and the out-of-control lilac.

While Stephen works with the wood, I’ve been keeping busy with the yard. Here is a shot of the front of the house before the daisies took over. The wild daisies grow to 4 feet high! And their stalks are thick and hard to pull up. They had taken over the entire front bed.

We transplanted the evergreen at the corner of the house from elsewhere in the yard, as well as another peony. I left one daisy clump (I’m sure it will try to take over again next year.) and planted a few new bushes and ground covers.

In the picture below, the siding is replaced, and the lilac is emerging from its spring chop. I can’t wait to give it a new shape over the winter.

And drum roll… here is the paint color. It’s a medium gray, with white trim. The foundation is going the window color…a tan/taupe. 
I did a test paint of the front of the porch. The shakes are painted a dark charcoal and the lap siding is the same gray as the vertical siding. White trim is all around the windows, soffit, fascia and porch railing. The porch floor, steps and sides will go the same as the windows and foundation- a tan/taupe.
Filed under: Exterior House, Remodel | 4 Comments »
Posted on September 4, 2012 by kbonikowsky
What’s been happening here is trim. The windows and doors are almost done. This bedroom window was tricky.
The top curvy crown piece is on special order, so its not 100%.

Here is a shot before the windows were done.

And the after (except that white slider, ugh)…with a blue sky!

Filed under: Exterior House, Remodel | 2 Comments »
Posted on August 21, 2012 by kbonikowsky
Posted on August 20, 2012 by kbonikowsky
The exterior window trim is styled after the original trim. Its missing the bottom piece that goes under the sill. Stephen decided last minute he wanted a different width board than what he purchased.

Filed under: Exterior House, Remodel | Leave a comment »


